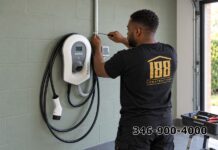

Owning an electric vehicle in Houston is easiest when the “gas station” is your own garage. You plug in when you get home and wake up to a full battery. Getting there takes more than buying a charger, though. The wiring behind it has to be right. Here is what to know before you schedule an EV charger installation in Houston.
Mr. Nguyen: 346-900-4000
Level 1 vs. Level 2: What the Numbers Mean
Level 1 uses a standard 120-volt outlet and adds only about 3 to 5 miles of range per hour. That’s fine for a short commute or an occasional top-up, but it’s slow for daily driving.
Level 2 runs on a 240-volt circuit, the same kind that powers an electric dryer, and typically adds roughly 20 to 40 miles of range per hour, depending on the charger, the circuit and your vehicle. For most households, this is the practical choice: an overnight charge covers a full day of driving with room to spare.
Your car also sets a ceiling. Every EV has an onboard charger that limits how fast it can accept power, so a more powerful wall unit won’t always charge a given car faster.
Start With Your Panel, Not the Charger
The first question isn’t which charger to buy. It is whether your home can supply it.
A Level 2 charger is a continuous, high-draw load, and electrical code treats it that way: the circuit must be rated above the charger’s running current. As a rough illustration, a 32-amp charger generally calls for a 40-amp circuit, and a 48-amp unit for a 60-amp one. That demand lands on top of everything else your home already runs, including air conditioning through a long Houston summer.
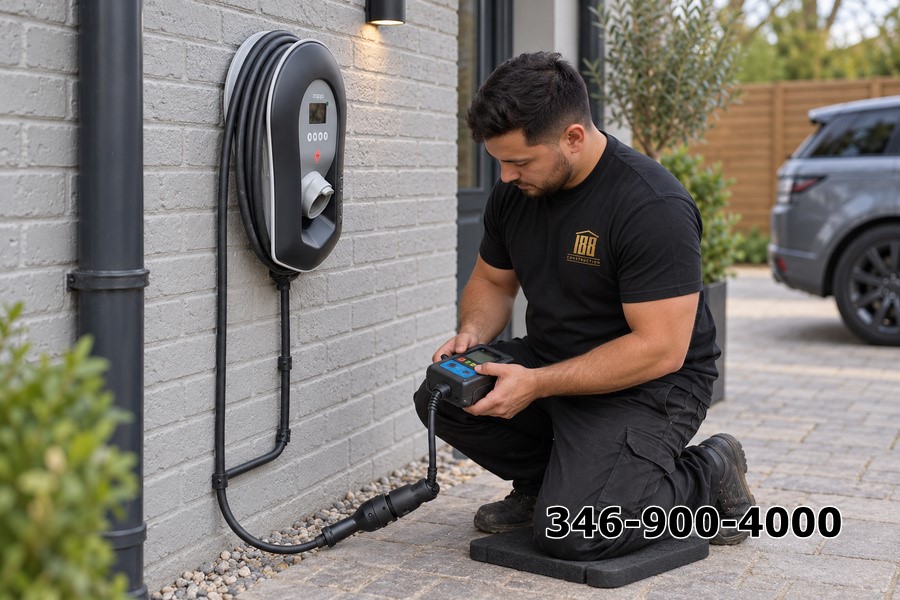
Before anything is installed, the home’s total load has to be calculated to confirm there is spare capacity. This is where a careful contractor earns their keep. At 188 CONSTRUCTION, our engineers hold Master’s degrees, and we are licensed and insured, so the load calculation, circuit sizing and wire selection are worked out properly instead of guessed. If the main panel is maxed out, the answer might be a panel upgrade, a load-management device that shares power between the charger and other appliances, or a smaller charger. Knowing this before purchase can save you from buying the wrong equipment.
Mr. Nguyen: 346-900-4000
Where to Put the Charger
Placement affects convenience, cost and durability.
Attached garage. The most common choice. It is sheltered, close to the panel and keeps wiring runs short.
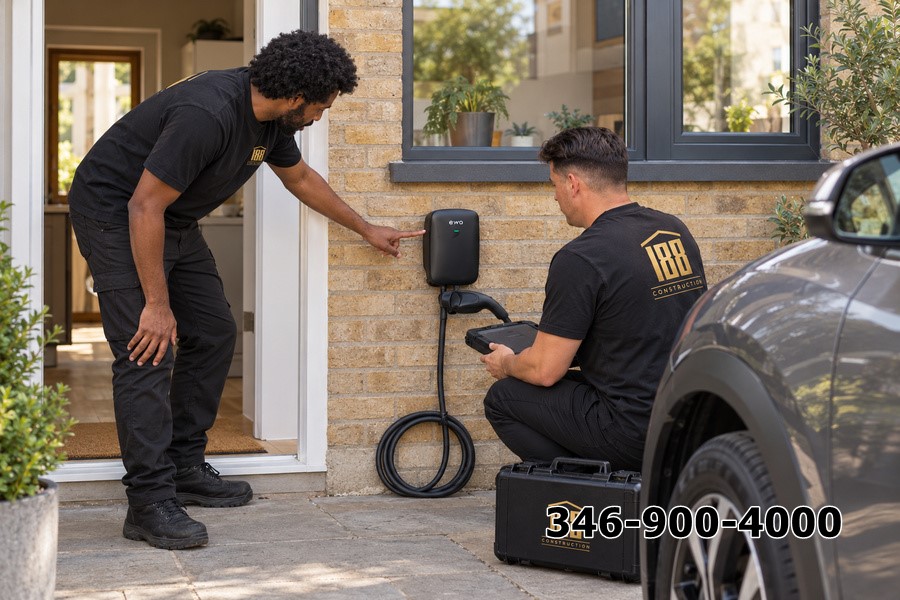
Driveway or exterior wall. Common for homes without a garage or with the panel on the opposite side. Outdoor units need weather-rated enclosures, and longer wire runs add cost.
Carport. Workable, but exposure to rain, heat and wind needs attention.
Houston adds a few local considerations. Heat and humidity are hard on outdoor equipment, so look for weather-rated hardware. In flood-prone areas, mounting the charger and outlet at a sensible height above likely water levels is a smart precaution. Think about cable reach too: you want the charge port to be reachable from where you actually park, not just on paper.
Plug-In or Hardwired?
There are two ways to connect a Level 2 charger.
A plug-in unit connects to a heavy-duty 240-volt outlet, commonly a NEMA 14-50. This is flexible: you can unplug the charger and take it with you if you move. It is a good fit for moderate-power chargers.
A hardwired unit connects directly to the circuit with no outlet in between. It generally suits higher-amperage chargers and gives a cleaner, more permanent installation.
Either way, the circuit should be dedicated and properly protected. If your plans include more than the charger, such as additional outlets in the garage, lighting or a second vehicle later, our Electrical Services can run the extra circuits during the same visit and avoid a second trip.
Mr. Nguyen: 346-900-4000
What Installation Day Looks Like
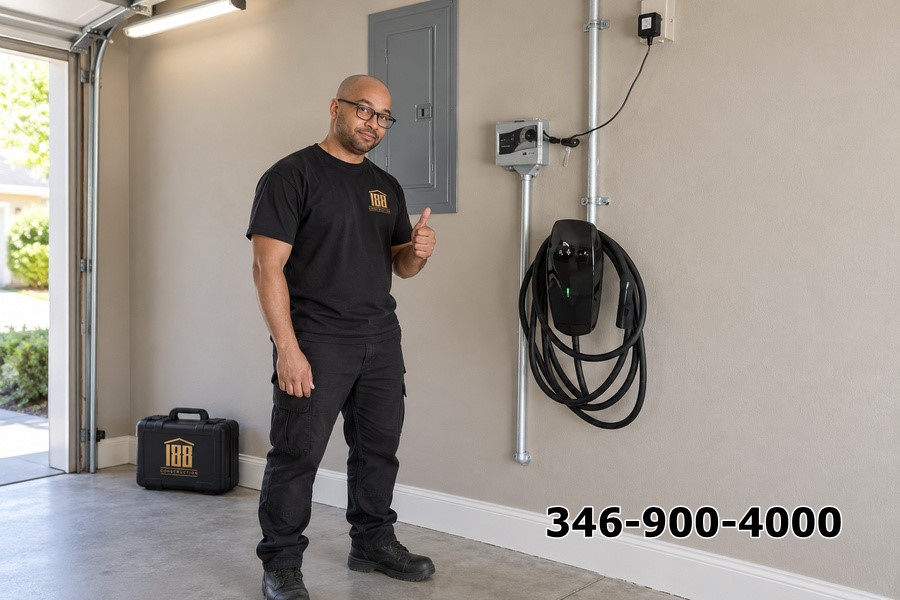
A typical installation follows a straightforward path:
- A site visit to assess the panel, the parking spot and the route for the wiring
- A load calculation and a written estimate
- Permit application, since EV charger circuits generally require an electrical permit and inspection
- Running the dedicated circuit, installing the breaker and mounting the charger or outlet
- Testing, commissioning and setting up the charger with its app or settings
- Inspection sign-off where required
A simple installation close to the panel can often be done in a single day. Longer runs, trenching, panel changes or finished walls that need to be opened up will extend the timeline.
What Affects the Cost
The charger itself is only part of the bill. The final price is shaped by:
- The charger model and its amperage
- Distance from the panel to the charging location
- Whether the panel needs an upgrade or a load-management device
- Indoor versus outdoor mounting and conduit requirements
- Permit and inspection fees
- Wall or ceiling work needed to route wiring cleanly
Incentives and utility programs for EV charging change from time to time, so check what’s currently available before you buy.
Mr. Nguyen: 346-900-4000
A Few Tips Before You Buy
- Confirm your vehicle’s maximum AC charging rate so you don’t overbuy.
- Choose a charger with a cable length that comfortably reaches your charge port.
- Think ahead: if a second EV is likely, planning wiring capacity now is far cheaper than redoing it later.
- Ask for an itemized estimate so you can compare quotes fairly.
Whether you’ve just bought an EV or you’re about to, a properly installed home charger makes everyday driving simpler. Let 188 CONSTRUCTION assess your home and recommend the setup that fits it best. Reach out to Mr. Nguyễn at 346 900 4000 to talk through your project and get a quote.